Metamask + Ledger live tutorial
This tutorial will walk you through the steps needed to connect your Ledger to Metamask and use it to transact on Fuse Network after the latest Metamask and Ledger live update.
Ledger live 2.26.1
Metamask 9.6.1
Ledger Nano S firmware 2.0
Step 1: Make sure you have updated your Ledger live application, Ledger Nano X/S firmware and Metamask to the latest version available.
Step 2: Enable “Use Ledger Live” on Metamask. Go to Settings > Advanced and you will find “Use Ledger Live” which you need to enable as shown below.
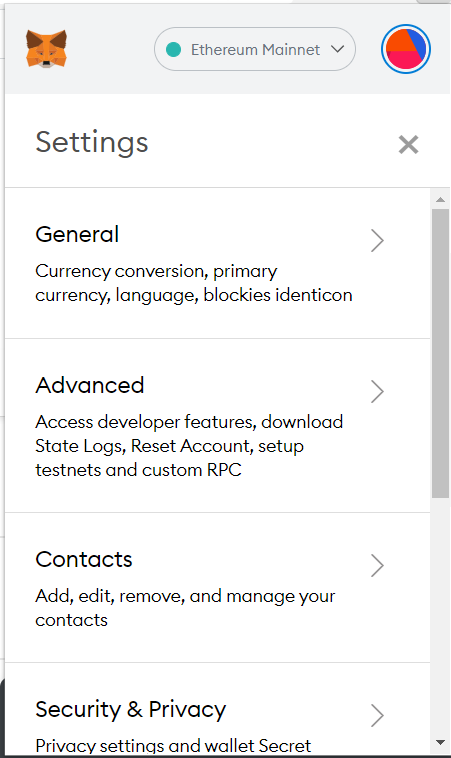
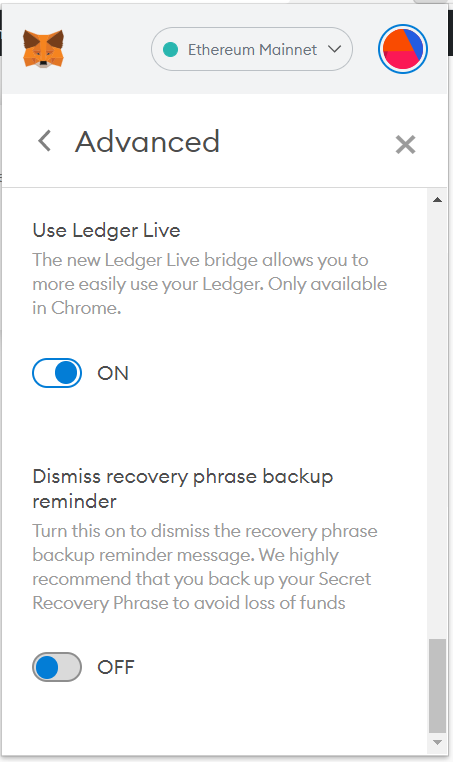
Step 3: Connect your Ledger Nano S to Metamask.
Connect your Ledger to the computer and open the Ethereum App in your Ledger. Make sure “Contract data” is enabled in the settings.
On Metamask select “Connect hardware wallet” and the screen shown below will pop up.
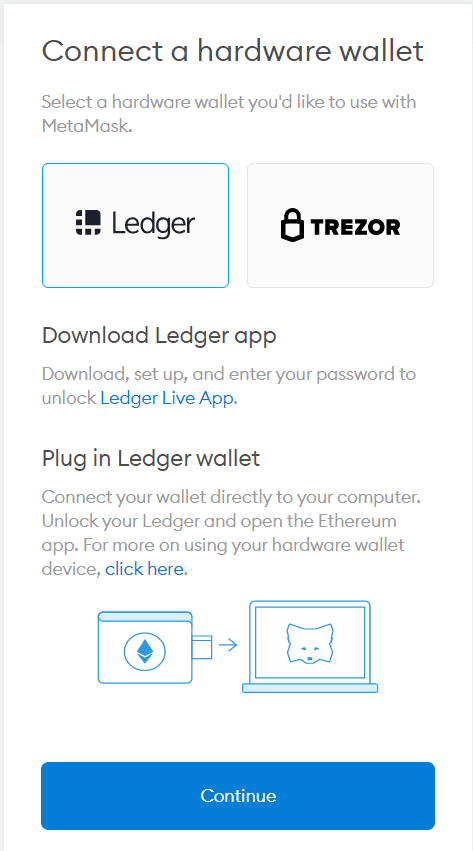
Select “Ledger” and click on “Continue”. Your Browser will ask for permission to open the Ledger Live application.
-ca2677d4ec994b5d7f51ceb5251cf416.png)
Once you open the Ledger Live application it will open a Device bridge through Websocket and ask your permission to Open. Click on “Open” and the Device bridge will be opened.
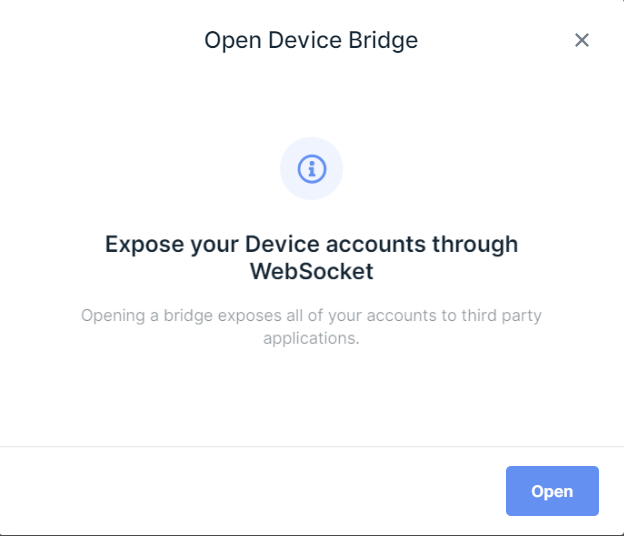
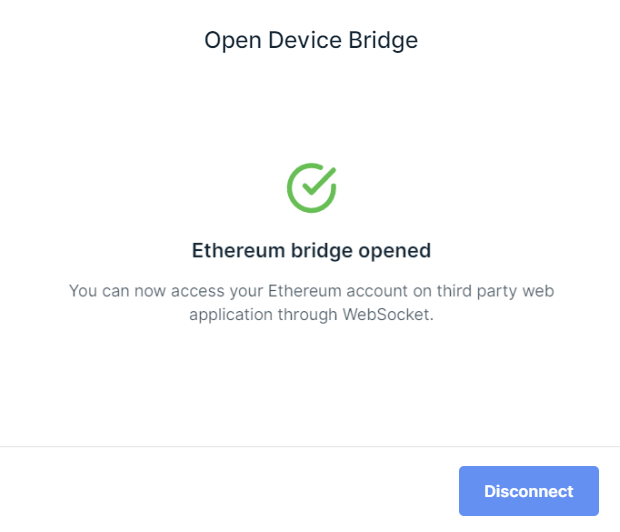
Once the device bridge is opened, go back to Metamask and select the Account (address) you want to login to through your Ledger and click on “Unlock”.
You will be logged in to the address you selected and now you can change the network to “Fuse network” and perform the transactions on Fuse network through your Ledger device.